20+ Practical Kitchen Cleaning Hacks That Go Way Beyond the Basics

This post is about clever kitchen cleaning hacks.
If you take pride in keeping your kitchen clean, you probably already have your routine, wiping the counters, cleaning the stove, doing the dishes, maybe even mopping the floor regularly.
But sometimes, even after all that work, something still feels off.
The kitchen looks “clean enough,” but not spotless. You can’t always put your finger on it… But you know it could be better.
The truth is — it’s not always about scrubbing harder or buying stronger products. Sometimes, it’s about cleaning smarter.
That’s exactly what these clever kitchen cleaning hacks are all about.
They’re simple, creative tricks that make a big difference. Like using tools you already have in a smarter way, making cleaning easier and faster or finally getting into those tricky spots you’ve been ignoring.
These are the little things that make cleaning easier, more satisfying, and, dare I say, even a bit fun.
This post may contain affiliate links!
Whether you’re a clean freak, a busy mom, or just someone who loves learning helpful tricks, these hacks will help you get your kitchen truly clean — the kind of clean that makes the whole space feel fresh and welcoming.
Let’s jump in.
1. Warm Up Sponges Before Use
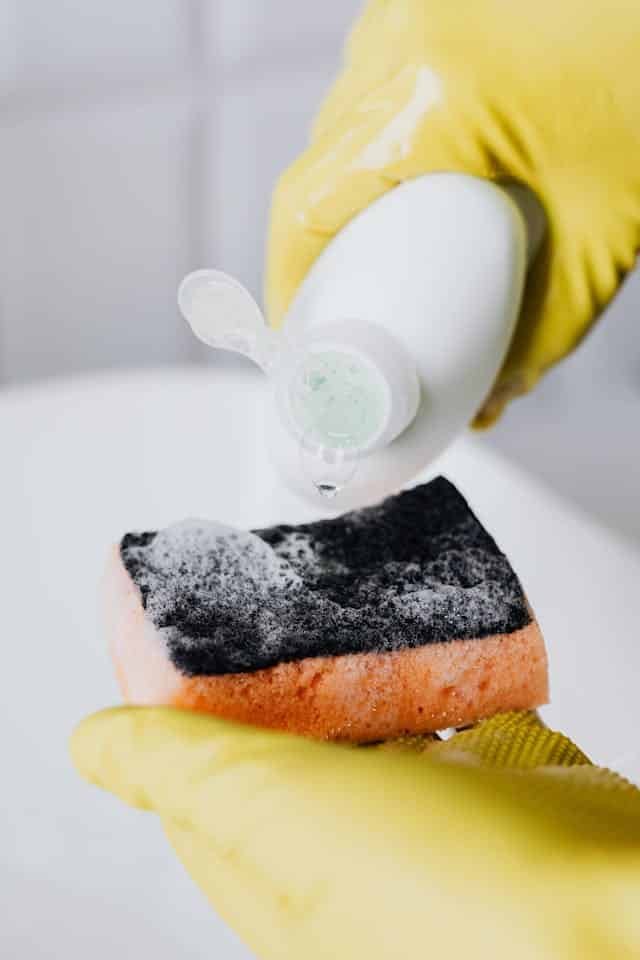
If you want to clean your kitchen counters more easily and get better results, warm up your sponge first.
You can soak it in hot water for a few seconds or microwave a damp sponge for 1–2 minutes (just make sure there’s no metal in it).
A warm sponge softens dried-on messes and cuts through grease faster, so you don’t have to scrub as hard.
If you want an even easier option, try using a power scrubber.
It can make regular counter cleaning faster and more effective, especially for sticky spills or built-up grime.
Just be sure to choose one with a non-scratch head that’s safe for your countertop material (like granite, quartz, laminate, or tile).
If you can, get the Leebein Power Scrubber , it comes with a head that’s safe for kitchen counters and helps scrub off dirt quickly and efficiently.
2. Socks on a Ruler
Dust, crumbs, and grease love hiding under your fridge, oven, or microwave; spots that are hard to reach with regular tools!
Take an old sock, slide it over a long ruler (or even a spatula or butter knife), and secure it with a rubber band if needed. Then gently slide it under those hard-to-reach areas and swipe the gunk right out.
You’ll be shocked at what comes out from under there and how easy this little DIY tool makes it.
3. Power Clean Blender
After you finish using your blender, don’t rush to scrub it by hand.
Instead, fill the blender jar about halfway with warm water (not hot). Hot water can damage the glue at the bottom, so stick to warm water.
Add a few drops of dish soap.
Put the lid on tight, then turn the blender on for about 30 seconds. The spinning blades will clean the inside and remove stuck-on food.
When it’s done, pour out the soapy water and rinse the jar well with clean water. This cleans the blender quickly and safely without touching the sharp blades.
4. Clean Backsplash with a Squeegee
Instead of scrubbing with a sponge and tiring out your hands, use a small squeegee to clean your kitchen backsplash but do it smartly.
First, spray a little bit of cleaner or soapy water directly onto the backsplash; just enough to loosen the grease or splatters. Then, use the squeegee to pull the dirt downward in short sections.
Hold a microfiber cloth or paper towel at the bottom with your other hand to catch the drips before they hit the counter. This way, you clean the backsplash without flooding your counters or making more mess.
5. Toothpick for Tight Spaces
Some spots in the kitchen are just too small for a sponge like the edges of the sink, around stove knobs, or between tiles.
These tiny areas collect crumbs, grease, and dirt over time.
To clean them, spray a little kitchen cleaner first and let it sit for a few seconds to loosen the grime. Then take a toothpick (or a cotton bud) and gently scrape out the dirt.
When you’re done, wipe the area with a damp cloth or paper towel.
6. Lint Roller for Open & Floating Shelves
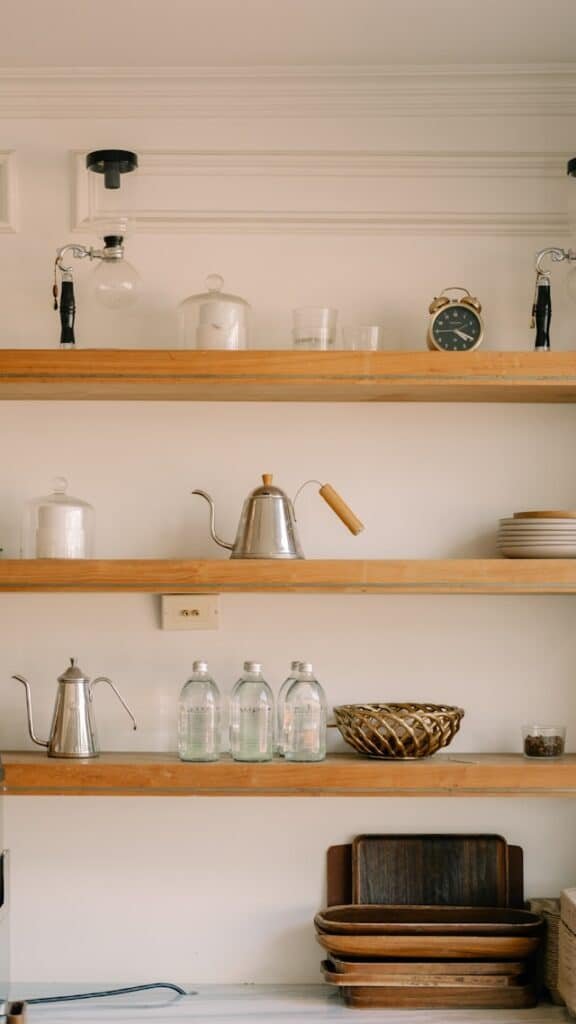
Open and floating shelves look nice, but they collect dust fast, especially in the kitchen where there’s grease in the air.
Instead of moving every item and wiping with a cloth, just use a lint roller!
Roll it over the shelf surface and around jars, mugs, or decor to pick up dust, crumbs, and hair in seconds.
It’s quick, easy, and perfect for small messes between deep cleans.
You can also tear off a sticky sheet and gently press it around tight spots without knocking things over.
7. Dry Microfiber Before Damp Cleaning
Before you spray any cleaner or use a wet cloth, start with a dry microfiber cloth first.
Wipe the counters, shelves, or surfaces with a dry cloth to pick up loose dust, crumbs, and hair. If you skip this step, all that dry dirt just turns into a muddy mess when it gets wet.
Once the dry mess is gone, then you can spray your cleaner and wipe with a damp cloth for a better clean.
8. Vacuum Before You Mop
If you want a clean kitchen floor without streaks or leftover mess, always vacuum first.
Mopping over crumbs, dust, or pet hair doesn’t clean, it just spreads the dirt around and makes your mop dirty too fast.
Use a vacuum or a broom to get all the loose stuff off the floor first.
Once that’s done, mop like you normally would. You’ll notice a big difference, the floor will look cleaner, and your mop water won’t turn black right away.
9. Floss Around Faucet Bases
The base of your kitchen faucet can get really grimy; crumbs, grease, and water spots all collect there, and it’s hard to clean with just a cloth.
A clever trick is to use dental floss or an old piece of string!
First, spray a little cleaner around the faucet base. Then gently slide the floss back and forth through the tight gaps where dirt hides. It pulls out the grime from places your sponge can’t reach.
Wipe the area with a cloth afterward. It’s a simple trick, but it leaves your faucet looking clean.
10. Line Under-Sink Cabinet
The space under your kitchen sink can get damp, musty, and messy.
Humidity and small leaks can make it smell bad and feel unhygienic and it’s hard to use that space for storing anything.
It’s also one of the hardest spots to clean properly.
Line the cabinet floor with peel-and-stick vinyl. It creates a smooth, wipeable surface and protects the base from light moisture and dirt. Just make sure the surface is clean and dry when you apply it.
If the bottom is already damaged or swollen from past moisture, you can place a plastic sheet or a waterproof shelf liner first as a base layer, then stick the vinyl on top. This gives you a fresh, usable space that’s much easier to maintain.
11. Name Cleaning Days After Zones
The kitchen has so many areas that need cleaning, and trying to tackle everything at once can feel overwhelming. Instead, try this clever trick:
“Break your kitchen into zones and give each zone its own cleaning day.”
Here’s how you can divide it up:
- Monday – Fridge & Freezer (wipe shelves, toss expired food)
- Tuesday – Pantry & Cabinets (dust shelves, reorganize)
- Wednesday – Countertops & Backsplash (deep clean and disinfect)
- Thursday – Appliances (microwave, toaster, oven, etc.)
- Friday – Sink & Under the Sink (scrub, deodorize, and organize)
- Saturday – Drawers & Utensils (wipe out drawers, sort tools)
- Sunday – Floors (vacuum, mop, and wipe baseboards)
Write down these days and stick this schedule onto the fridge.
12. Stove Grates in Hot Towels
Greasy stove grates can be a pain to clean, especially when the grease gets stuck in corners and hardened from heat.
One easy trick is to soak a few towels in hot, soapy water (dish soap works great), then lay them over the grates for 10–15 minutes.
The heat and moisture will loosen the stuck-on grease, making it much easier to scrub off afterward. Use a brush or sponge to finish the job, it’ll feel way less frustrating.
If the grates are too dirty, place them in a large zip-top bag with a bit of ammonia (leave it overnight, outdoors or in a well-ventilated spot). Use Gloves.
The fumes break down the grease without any hard scrubbing. Just rinse them well afterward.
13. Use Warm Rags to Line Shelves
Sticky messes on pantry or fridge shelves can be tough to scrub off, especially if they’ve dried up.
Instead of scraping and scrubbing right away, soak a few clean rags in warm, soapy water and lay them flat across the shelves.
Let them sit for 5–10 minutes. The warmth and moisture will loosen up the spills, so you can just wipe them away with less effort. It’s much easier on your hands and your patience!
This trick works great for inside the fridge, pantry shelves, or any surface that collects dried food or sticky spots.
14. Use a Turkey Baster
If you ever see water collecting at the bottom of your fridge, especially under the vegetable drawers, it might be because the drain hole is clogged.
This tiny hole is supposed to let water from condensation flow out to a tray underneath the fridge, where it quietly evaporates.
To clear it easily, grab a turkey baster (yep, the one you use at Thanksgiving!). Fill it with warm water! not hot, just warm.
Gently squeeze the water into the drain hole at the back of your fridge.
The warm water helps loosen any gunk or food crumbs blocking the hole.
If the water doesn’t go down and comes back up, the hole might be fully clogged.
You can then try using a long cotton swab or pipe cleaner to loosen the blockage, then flush it again with the baster.
15. Defrost with a Hairdryer
When your freezer has too much ice, it’s hard to take the drawers out and clean them. A quick trick is to use a hairdryer on low heat to melt the ice faster.
First, unplug the freezer and take everything out.
Then, turn your hairdryer to the lowest heat setting and gently blow warm air on the ice. Keep the dryer moving and don’t let it get wet.
As the ice melts, you’ll be able to slide the drawers out easily and wash them. This saves time and makes freezer cleaning less frustrating.
16. Shelves in the Bathtub
Fridge shelves can be big and tricky to clean in the sink, especially if they have dried spills or sticky spots. A smart way to clean them is to soak them in your bathtub.
Just fill the tub with warm water and a bit of dish soap. Place the shelves in carefully and let them soak for 15–20 minutes. This helps loosen all the stuck-on mess.
After soaking, give them a gentle scrub with a sponge, rinse, and dry. It’s much easier than scrubbing in a cramped sink.
17. Use a Bottle Brush to Clean the Drain Pipe
Sometimes, the kitchen sink drain starts to smell bad or gets slow. That’s usually because of grease or food bits stuck inside the pipe.
Use a bottle brush, the kind you use for cleaning baby bottles or water bottles.
Just remove the drain cover or stopper, then push the brush gently down the drain and twist it around.
It helps scrub off the gunk stuck to the sides. You can also run warm water while brushing to rinse it out as you clean.
It’s an easy way to keep your drain fresh and flowing better without using any harsh chemicals.
18. Microfiber Cloth Around a Chopstick
That tight spot behind the kitchen faucet collects grime, but it’s hard to reach.
An easy trick is to wrap a microfiber cloth around a chopstick or skewer.
This gives you a small tool that can slide into that narrow space.
Spray a bit of cleaner first, then use your wrapped chopstick to wipe behind and around the faucet base.
It gets into corners your fingers can’t reach and helps you clean that hidden dirt without much effort.
19. Use a Credit Card or Butter Knife
Food crumbs and grease often get stuck between countertop seams.
Take a cloth and wrap it around a butter knife or an old credit card. Then slide it through the seams. It helps pull out the dirt that a sponge can’t reach.
20. Tape a Microfiber Cloth to a Yardstick
Behind the fridge is one of the dustiest spots in the kitchen and it’s hard to reach.
An easy way to clean it is to tape a microfiber cloth to a yardstick or any long stick. Slide it behind the fridge and move it side to side. It will catch dust, crumbs, and even pet hair.
21. Clean Outlets (Safely!)
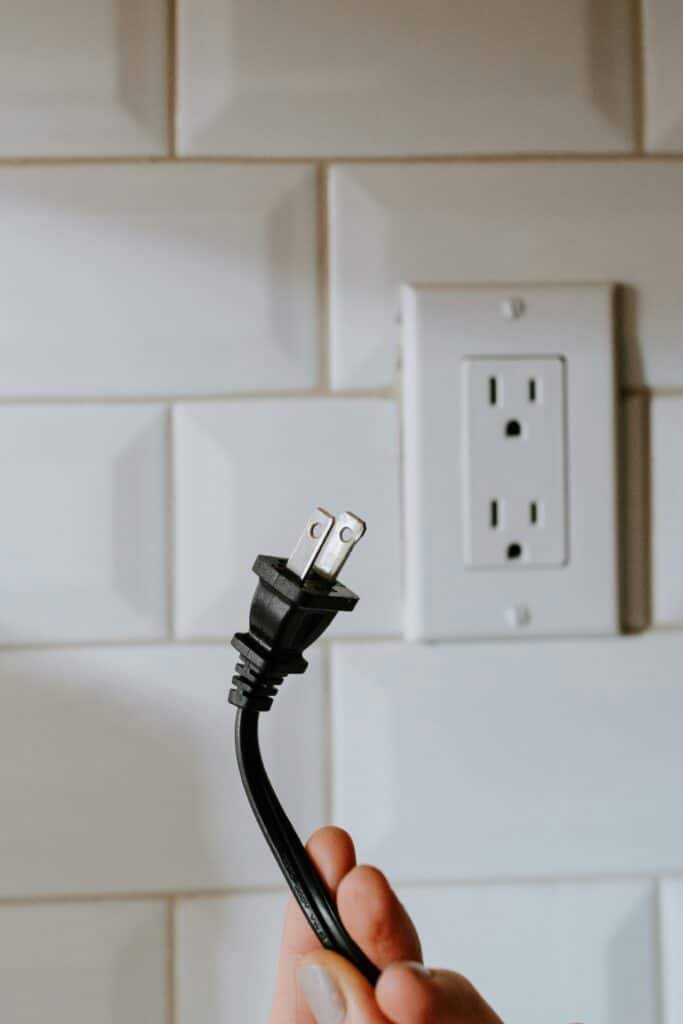
Kitchen outlets and switch plates can get greasy over time, especially near cooking areas. But since you’re dealing with electricity, it’s really important to clean them safely.
First, if you can, turn off the electricity from the main switch.
Then wrap a slightly damp microfiber cloth around a wooden spatula, not metal! The flat wooden edge helps you gently reach around the outlet and remove the dirt.
Don’t spray any cleaner directly on the outlet. Just use the damp cloth.
Once you’re done cleaning, leave the outlets to dry completely.
It’s best to lock the kitchen and avoid using that area for a few hours, just to stay safe.
When you’re sure everything is fully dry, you can turn the electricity back on.
A Little Effort Goes a Long Way
You don’t need fancy tools or expensive cleaners to get your kitchen truly clean. Sometimes, it’s these small, clever tricks that make the biggest difference. From using a spatula to reach tricky spots to giving your blender a quick soapy spin; it’s all about working smarter, not harder.
Try a few of these hacks during your next cleaning session; you might be surprised how much they help!
Before You Go: The Best Cleaning Spray to Add to Your Kitchen Kit
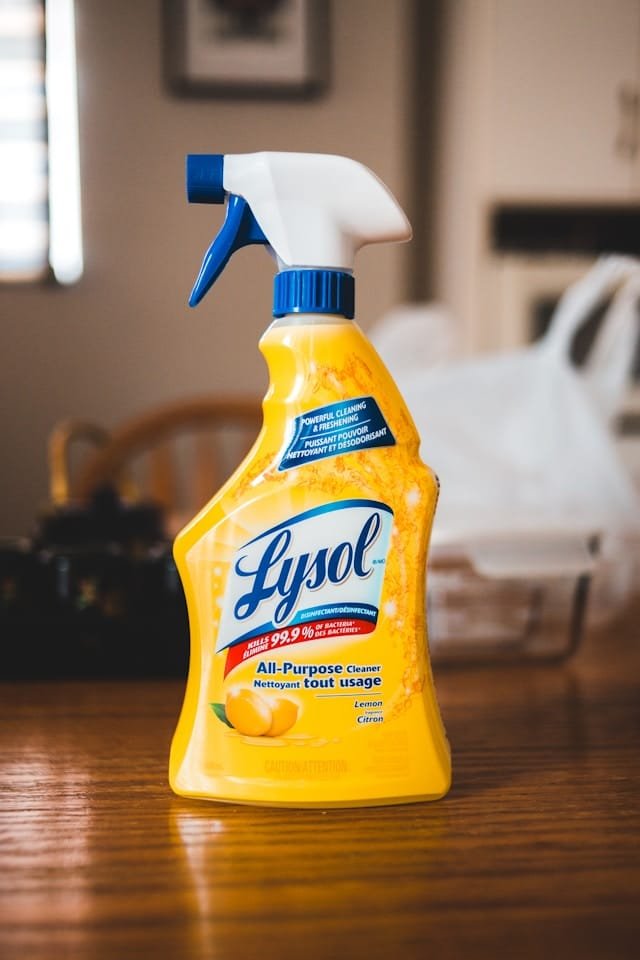
If you want one powerful spray that can handle almost every kitchen mess, Lysol All Purpose Cleaner Spray is a must-have. It cleans, disinfects, and smells amazing with its fresh Mango & Hibiscus scent.
Whether it’s grease, spills, or sticky spots, this spray makes your cleaning faster and easier; no extra scrubbing needed! Keep it handy, and your kitchen will stay fresh and sparkling every day.
Seriously, grab a bottle now and see how much easier your cleaning routine can be!
Check out more about home cleaning and organizing below.
Read more:
- 20 Surprisingly Easy Bathroom Cleaning Hacks That Leave No Dirt Behind
- 20+ Practical Kitchen Cleaning Hacks That Go Way Beyond the Basics
- How To Organize Your Room And Always Keep It That Way
- 15 Shockingly Simple Habits Of People Who Keep Their House Clean All The Time
- 25+ Effective Cleaning Hacks You Won’t See All Over the Internet
