20 Forgotten Areas That Belong on Your Kitchen Cleaning List (& How to Clean Them)
You clean your kitchen all the time; wipe the counters, sweep the floor, maybe even scrub the sink.
But sometimes, no matter how much you clean, something still feels… off. It’s probably those sneaky little spots we all forget about.
The truth is, some of the dirtiest parts of the kitchen are the ones that get totally overlooked.
In this post, I’m sharing 20 hidden areas you’re probably skipping during kitchen cleaning and once you know where they are, you’ll never miss them again.
This post may contain affiliate links!
1- The Back of Your Kitchen Faucet
You know that little spot right behind your kitchen faucet where it connects to the sink?
It’s one of those places you don’t really think about until one day you happen to glance at it and… yikes.
Water splashes back there all the time, and bits of soap, crumbs, and grime love to hang out in that tiny space.
The easiest way to deal with it is to grab an old toothbrush and give it a quick scrub.
You can also take a cloth, soak it in warm soapy water, and let it sit there for a few minutes to loosen everything up. It honestly makes a big difference.
If you want it to look really spotless, I swear by Bar Keepers Friend.
It works so well on all those little stains and buildup around the faucet. Just give it a quick wipe after and it’ll look fresh and clean again.
2- The Hidden Compartment in Your Fridge’s Water Dispenser
One spot that gets seriously gross without you even noticing is the hidden compartment in your fridge water dispenser.
You know that little area tucked just behind or underneath where the water actually comes out?
Most fridges have a small plastic tray or cover there that catches drips, and sometimes there’s a hidden panel or little nook behind it.
That’s where all the water drips, splashes, and tiny bits of dust or crumbs end up. Over time, it turns into this slimy, grimy mess.
To clean it, first, check if the tray or cover pops off. Most of them do, and you’ll be shocked at what hides underneath.
s or give it a good scrub with an old toothbrush.
For the hidden nooks you can’t reach easily, wrap a cloth around a butter knife or use a cotton swab to get in there.
If there’s stubborn buildup, a little bit of white vinegar works wonders and leaves the area fresh and clean.
3- The Tiny Holes in Your Stovetop Knobs
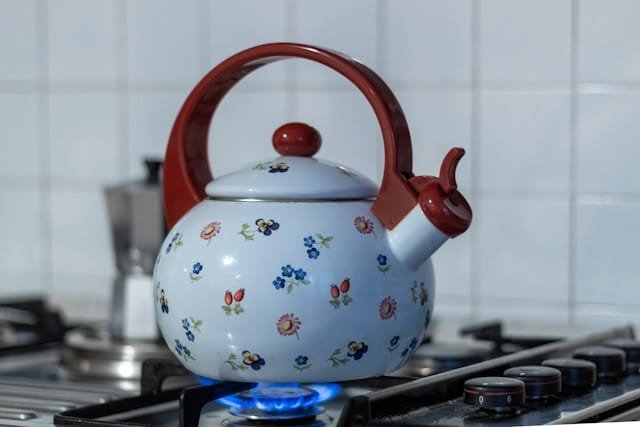
It’s easy to miss how dirty the stove top knobs can get, especially those tiny holes around the edges.
Grease, crumbs, and food splatters sneak their way in, and before you know it, those little gaps are hiding all sorts of grime.
The best way to clean them is to gently pull the knobs off if your stove allows it. Soak them in warm soapy water, then grab a toothpick or cotton swab to clean inside those small holes. A quick wipe with vinegar leaves them looking fresh.
If your stove knobs do not come off, no worries, you can still get them clean.
Just take a damp cloth or sponge with warm soapy water and wipe all around the knobs, paying extra attention to those tiny holes and edges.
For the hard-to-reach spots, use a cotton swab or an old toothbrush to gently scrub around the base.
You can also dip the toothbrush in a bit of white vinegar if there’s stubborn grease stuck in those little gaps. It works surprisingly well.
4- The Rubber Feet on Small Appliances
The rubber feet on your small kitchen appliances are one of those hidden spots that barely get any attention. Flip them over and you’ll probably be shocked at how dirty they can get.
Appliances like toasters, coffee makers, blenders, air fryers, and food processors all have those little rubber pads underneath to keep them from sliding around.
Crumbs, dust, grease, and even sticky spills collect around them over time.
Most of us clean just the top and sides, but the bottom gets completely forgotten.
To clean them, wipe them with a damp cloth and a little dish soap to get rid of dust and crumbs.
Use an old toothbrush or cotton swab to scrub around the edges if grime is stuck.
And if they feel sticky, rubbing alcohol works great to cut through greasy buildup.
5- The Underside of the Sink Rim
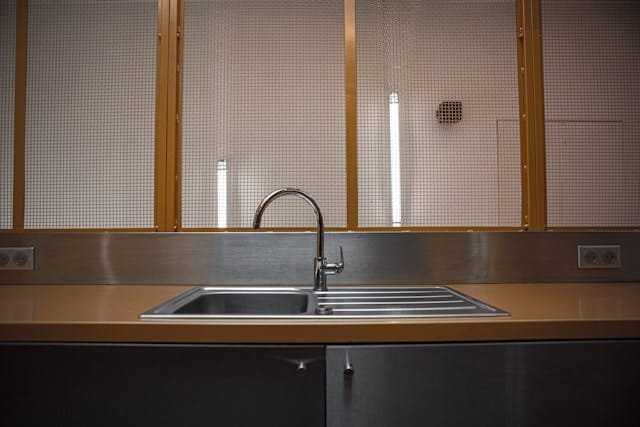
The underside of the sink rim is one of those sneaky spots that hardly ever gets cleaned.
It’s that hidden area just under the outer edge of your sink, where the sink meets the countertop. You probably won’t notice it until you lean in and take a peek underneath.
Water splashes, soap, food bits, and grease drip down there and stick to the rim, creating a slimy, grimy mess over time.
Instead of just wiping it with a cloth like we do everywhere else, the easiest way to clean this area is to wrap a cloth or sponge around a butter knife. This lets you slide right under the rim and properly clean those tight edges.
If there’s stubborn buildup, soak the cloth in white vinegar or an all-purpose cleaner first, then slide it around the rim a few times. Finish by wiping with a dry cloth and your sink looks fresh again.
6- Light Switches & Outlet Covers
Light switches and outlet covers are one of those little spots in the kitchen that collect grease, grime, and fingerprints without you even noticing.
We touch them so often, especially while cooking, and they rarely make it onto the cleaning list. But they really should.
Always clean these areas carefully to avoid any risk of water or cleaner getting inside the outlet.
The safest way is to use a barely damp microfiber cloth with a bit of mild all-purpose cleaner like Method All-Purpose Cleaner. These are gentle, effective, and won’t leave behind harsh chemical residue.
For extra safety, keep a clean wooden spatula nearby or you can wrap your damp cloth or scrub pad around the spatula and use that to clean around the switches or outlets.
It acts as a little handle, so your hands stay clear of the outlet and you can easily reach tight spots.
7- Top of Cabinets
The top of the kitchen cabinets is one of those places that collects a surprising amount of dust and grime.
Most of the time, we do not even think about it because it is completely out of sight. But if you have space above your cabinets, that area is probably due for a good clean.
Grab a step stool so you can safely reach the top. Remove the loose dust using a small broom, duster, or cloth. If you have a handheld vacuum, that makes the job even easier.
Once the dust is gone, wipe the surface with a damp cloth to get rid of any leftover grime and let it dry completely. If there is stuck grease, use a degreaser to remove it.
A helpful little trick is to line the top of the cabinets with sheets of newspaper or baking paper.
That way, next time you clean, all you need to do is change the lining and the surface stays clean with hardly any effort.
8- Refrigerator Door Seals
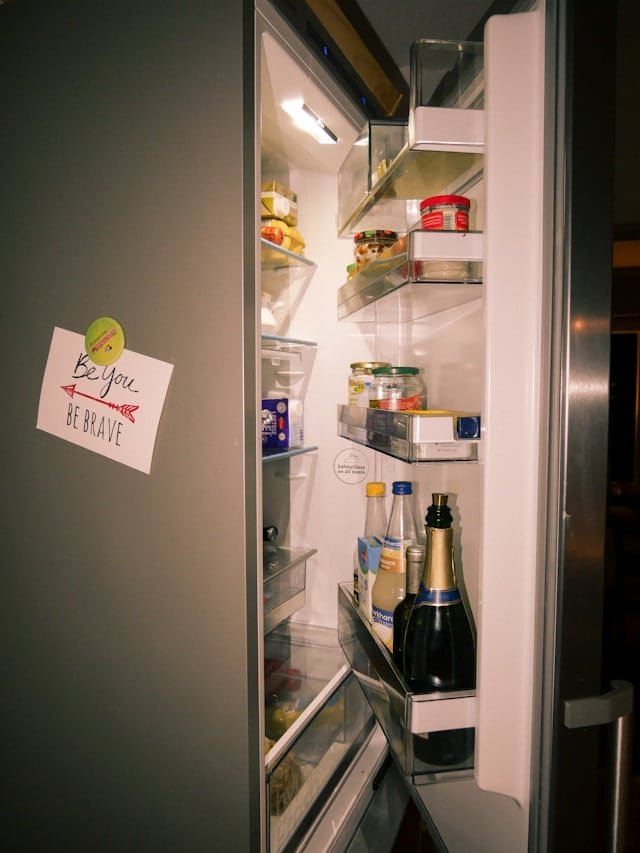
Most people do not even think twice about the rubber seals on their fridge doors, but that little area is sneakier than it looks.
It is the perfect spot for crumbs, sticky spills, and a little mold to hide out, especially in those tiny folds.
If the seals get too dirty, they might not close properly, which means your fridge has to work harder to stay cold.
Take a few cotton swabs or cotton balls and soak them in white vinegar or an all-purpose cleaner.
When they are nicely soaked and dripping, gently tuck them along the folds of the rubber seal. This lets the cleaner sit right where the grime and buildup hide.
Leave them there for five to ten minutes so the cleaner can loosen everything up.
Once the time is up, remove the cotton balls and grab either a toothpick or a cotton swab to clean inside those narrow folds.
You can also wrap a damp cloth around the tip of a butter knife and slide it gently along the grooves.
This helps clean out any leftover dirt without damaging the rubber. It takes just a few extra minutes but makes a huge difference.
9- Inside Drawer Organizers
Drawer organizers make everything look neat and arranged, but the space underneath them often turns into a hidden mess.
Dust, crumbs, and little bits of food quietly collect under there without you even realizing it.
The easiest fix is to simply take the organizer out and clean underneath.
A vacuum cleaner works perfectly to pick up the mess.
If your organizer is washable, give it a quick rinse and let it dry. If not, wipe it down with a damp cloth.
Once everything is dry, pop it back in and reorganize.
10- The Drip Pan Under the Toaster
The drip pan under your toaster or toaster oven is easy to forget about.
But that little tray catches all the crumbs and burnt bits that fall while you use it. After a while, it can get really messy and even start to smell when you turn the toaster on.
It only takes a minute to clean. Just slide the tray out and shake the crumbs into the trash. If it looks sticky or dirty, wash it with warm soapy water. Let it dry properly and put it back. That is all it takes to keep it clean.
11- Cabinet Handles and Knobs
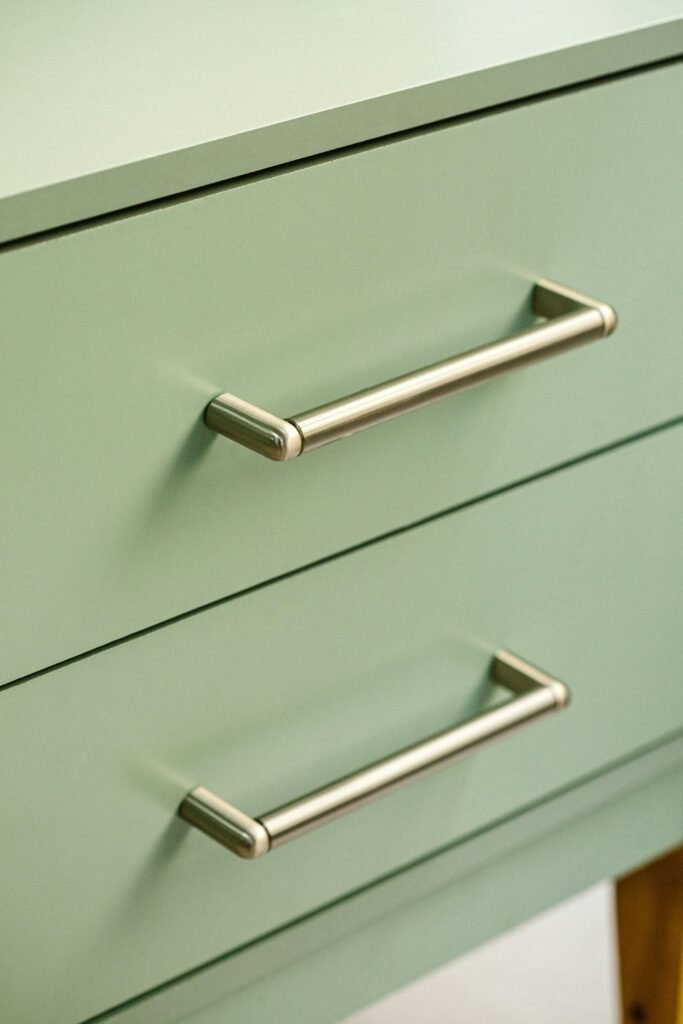
Cabinet handles and knobs in the kitchen get touched all the time but they are easy to forget when cleaning.
Greasy hands, food splatters, and dust quickly build up on them, making them look dull and sticky.
The easiest way to clean them is to wipe them with a damp cloth and a little dish soap. For tougher spots, Method All-Purpose Cleaner works really well and is safe for most surfaces.
You can also use an old toothbrush to scrub around the edges. Once done, wipe them dry so they stay shiny and clean.
12- Inside the Dishwasher Filter
The dishwasher filter is hidden right at the bottom of your dishwasher, underneath the lower rack.
If you pull the rack out and look at the floor of the dishwasher, you will see a round or rectangular cover that is where the filter sits. Its job is to catch food bits and stop them from clogging your dishwasher.
Over time, food particles, grease, and gunk build up in the filter, making your dishwasher less effective and sometimes leaving your dishes looking dirty.
To clean it, simply twist or lift the filter out (most filters come out easily). Rinse it under warm water and use a soft brush or an old toothbrush to scrub away any stuck food or grease.
If it smells bad or feels greasy, soak it in warm, soapy water for a few minutes. Once it is clean and dry, pop it back in place and your dishwasher will run much better.
13- Under the Sink
The space under the kitchen sink stays hidden behind closed cabinet doors, so most of the time, we don’t even think about what’s going on down there.
But take a quick peek, and chances are you’ll find it could use a little attention.
What often happens is water drips, cleaning products leak, or things just get tossed down there without a second thought. That can leave the area feeling damp, sticky, or even smelly. Not exactly what you want in your kitchen.
Take everything out and give the whole area a good wipe with an all-purpose cleaner. Let it dry completely. For that musty smell, a little bowl of baking soda works like magic to soak up odors.
You’ve got prime storage space just waiting to be organized. Cleaning supplies, sponges, even bins for extra storage all fit neatly under there.
You can even check out my other post full of under-sink storage and organization ideas if you want to make the most of that space.
14- Oven Knobs and Controls
Every time you cook, splatters and steam settle on your oven knobs and controls, making them sticky over time.
If your knobs come off, soak them in a bowl of warm water mixed with dishwashing liquid for a quick clean.
For the ones that stay fixed, just wipe them with a damp cloth and a bit of cleaner. Use a soft toothbrush or cotton swab to clean around the edges and tight spaces.
15- Walls and Backsplash Behind the Stove
The walls and backsplash behind the stove are one of the messiest spots in the kitchen, yet they often get forgotten.
Every time you cook, oil splatters, steam, and food bits make their way onto the wall without you even realizing it. After a while, it leaves behind stubborn grease stains and sticky marks.
The easiest way to keep this area clean is to wipe it down regularly with a cloth and a degreasing kitchen cleaner.
If the stains are tough, warm water with a little vinegar works really well. A soft sponge or microfiber cloth helps lift the grease without damaging tiles or paint.
For deep cleaning, focus on the grout lines and corners where grease tends to settle. A quick wipe every few days keeps your backsplash looking fresh and saves you from dealing with stubborn buildup later on.
16- Cutting Board Grooves
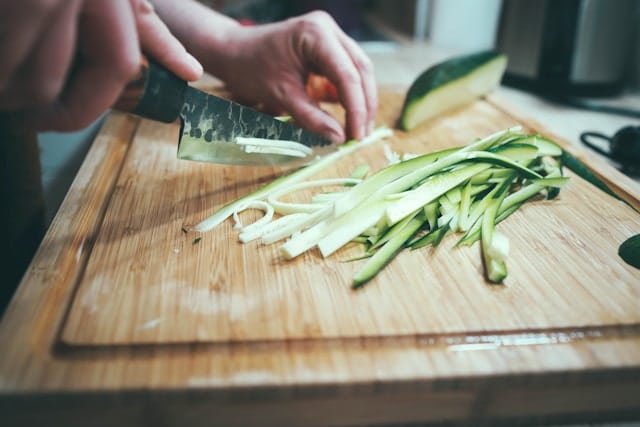
The grooves on your cutting board are the perfect hiding place for crumbs, food bits, and even bacteria.
Even if you wash the surface, those tiny cuts and lines can trap dirt without you noticing. Over time, it leaves your board looking worn and not so clean.
The best way to clean those grooves is to sprinkle coarse salt or baking soda over the board and scrub it with half a lemon. This helps loosen the dirt and keeps the board fresh. For stubborn buildup, use a small brush or toothbrush to clean inside the grooves properly.
If your board is wooden, avoid soaking it in water. Just wipe it clean, let it dry completely, and rub a little mineral oil over it to keep it from cracking or drying out.
17- Under the Refrigerator Crisper Drawers
The space under the refrigerator crisper drawers is easy to forget, but it often turns into a sticky mess.
Every time fruit or veggies go bad or something leaks, the liquid or bits of food slide right underneath those drawers. You might not see it, but it is definitely there.
To clean it properly, pull the drawers out and use a cloth or sponge with warm water and a little vinegar to wipe everything down.
For dried or sticky spots, a plastic scraper or old gift card works great without scratching the surface. Let it dry completely before putting the drawers back.
18- The Inside of Your Faucet Aerator
The aerator is the small mesh screen at the tip of your faucet that mixes air with the water.
Over time, tiny bits of dirt, mineral buildup, and even sand can collect inside, making the water stream weak or uneven.
Cleaning it is simple. Most aerators can be unscrewed by hand or with pliers wrapped in a cloth to avoid scratching.
Once off, rinse the screen under running water and gently scrub it with an old toothbrush. If there is hard water buildup, soaking the aerator in vinegar for a few minutes helps dissolve it. Screw it back on and your faucet will run smoothly again.
19- The Hollow Legs of Your Dining Chairs or Bar Stools
If you flip your dining chairs or bar stools upside down and look at the hollow legs at the bottom, you might be surprised by what you find.
Dust, crumbs, and spider webs love to hide in those hollow spaces, especially if the chairs have been sitting in the same spot for a while.
Most of us never think to check down there, but it is worth a quick clean now and then.
To clear it out, grab your vacuum with a small nozzle and suck up all the dirt inside.
If you do not have a vacuum that fits, use a small brush or a rolled-up cloth to wipe the inside.
For stubborn dirt stuck to the edges, a damp cloth or a cotton swab works well. It is a simple job that keeps your chairs clean and fresh all around.
20- The Space Between Double Oven Doors
The space between double oven doors is a common spot that collects a surprising amount of grime, crumbs, and grease splatters over time.
It’s one of those hidden areas that’s easy to forget about because you don’t see it unless you look closely.
But if you peek through the small gap or glass, you might notice dust, food particles, or streaks trapped inside, making your oven look dirty even after you’ve wiped the outside.
How to Clean the Space Between Double Oven Doors:
- Check your oven manual first, as some models allow you to easily remove the door or take apart the glass panels for cleaning.
- If that’s not an option, a handy trick is to use a long, thin tool like a yardstick, butter knife, or plastic ruler wrapped with a microfiber cloth or paper towel.
- Insert it gently through the vent slots at the top or bottom of the oven door to reach inside and wipe away crumbs, dust, and smudges.
- For stubborn spots, lightly dampen the cloth with a vinegar-water mix or glass cleaner before inserting it.
It takes a little patience, but it makes a huge difference in keeping your oven looking spotless!

Wrapping Up
I hope you found this blog post a little eye-opening when it comes to those forgotten kitchen cleaning areas. It’s easy to overlook spots that quietly collect dust, grime, and crumbs over time. But once you know where to look, keeping your kitchen fresh and truly clean gets a whole lot easier.
If you want more simple ideas to keep your home sparkling and organized, be sure to check out the other blog posts linked below.
Read more:
- 20 Surprisingly Easy Bathroom Cleaning Hacks That Leave No Dirt Behind
- 20+ Practical Kitchen Cleaning Hacks That Go Way Beyond the Basics
- How To Organize Your Room And Always Keep It That Way
- 15 Shockingly Simple Habits Of People Who Keep Their House Clean All The Time
- 25+ Effective Cleaning Hacks You Won’t See All Over the Internet


