How to Declutter Your Kid’s Room (Without Tears, Tantrums, or Overwhelm!)
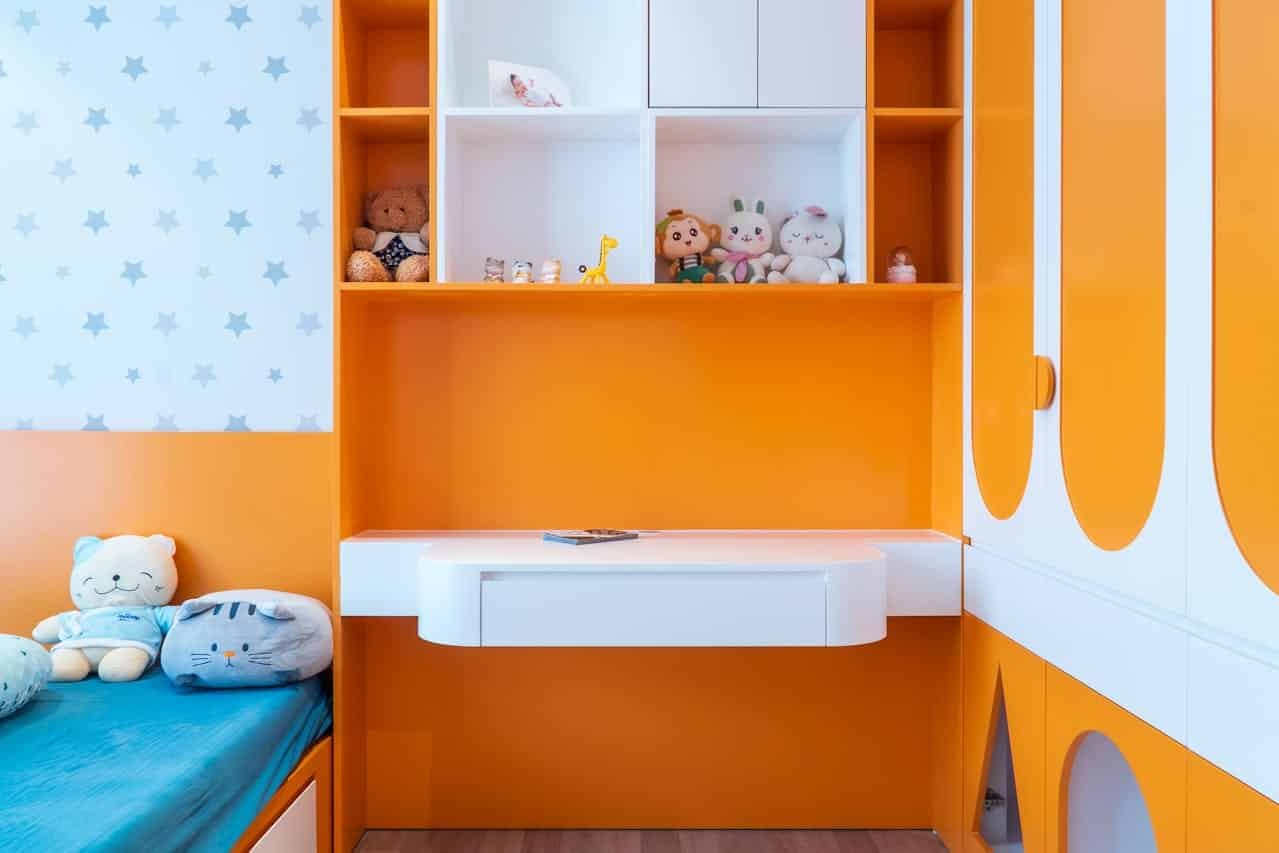
Looking to declutter your kids’ room? You are in the right place.
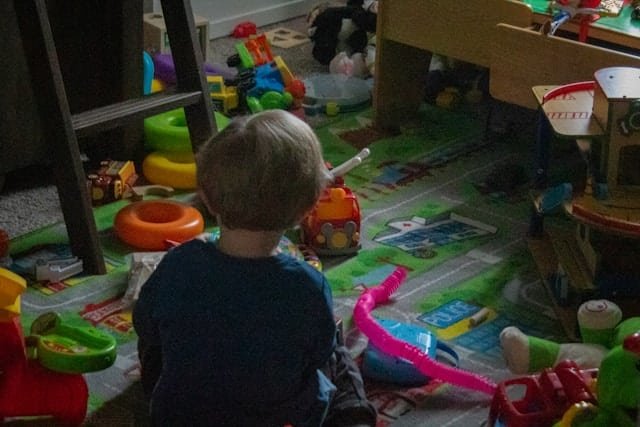
It’s amazing how quickly a kid’s room can go from tidy to totally out of control.
One minute everything’s in its place, and the next there are toys under the bed, clothes piled on the chair, and books scattered across the floor.
Sound familiar?
Keeping a child’s room organized isn’t easy; especially when new toys, clothes, and school projects seem to appear out of nowhere.
I can say that a little bit of decluttering makes a huge difference. Not only does it cut down on daily stress, but it also makes cleaning up so much faster and gives kids a space where they can actually focus and relax.
Decluttering doesn’t have to feel like a chore. When you involve your child and make it fun, it becomes a lot more manageable (and even a little exciting).
In this blog post, I’ll walk you through a simple, step-by-step approach to decluttering a child’s room. Along the way, I’ll also share a few helpful tips to make the process easier, more manageable, and maybe even a little bit fun.
Start with a Plan
Jumping into decluttering without a plan can make the whole process feel messy and overwhelming.
Before you start pulling everything out, take a moment to think about what you want to accomplish.
A simple plan will help you stay on track and make decisions faster as you go.
What are you trying to achieve?
Take a moment to be clear about your goal.
Are you hoping to create a more organized space with everything easy to find?
Or is your child growing up and it’s time to start letting go of some toys they’ve outgrown?
Maybe you want to make room for new things, or simply cut down on the daily mess.
Whatever it is, having a clear purpose will help you make decisions more easily and declutter in a way that truly works for your family.
Get Your Child Involved
It really helps to get our little ones involved in the process.
Instead of telling them what needs to go, we can gently invite them to show us around their room.
Letting them feel in charge and seeing us there to support them, makes the whole experience a lot smoother.
Sometimes it’s even helpful to take them on a small trip to a donation center.
When they see where their toys or clothes are going and how they can make someone else happy, it can be easier for them to let go.
Decluttering can actually be a beautiful opportunity to teach our kids about organization, generosity, and living with less.
And when they feel included, they’re much more likely to stay proud of their space and enjoy the feeling of a tidy, peaceful room.
Choose a Good Time
Another important thing I highly recommend is choosing a good time to start.
Don’t just follow a schedule, consider how your child is feeling.
It’s best to begin when they’re well-rested, fed, and in a good mood.
If needed, cook or order their favorite meal to set the tone.
And try to avoid letting them have screen time before you start, as it can really affect their mood and focus.
Gather Supplies
Gather all the supplies you’ll need.
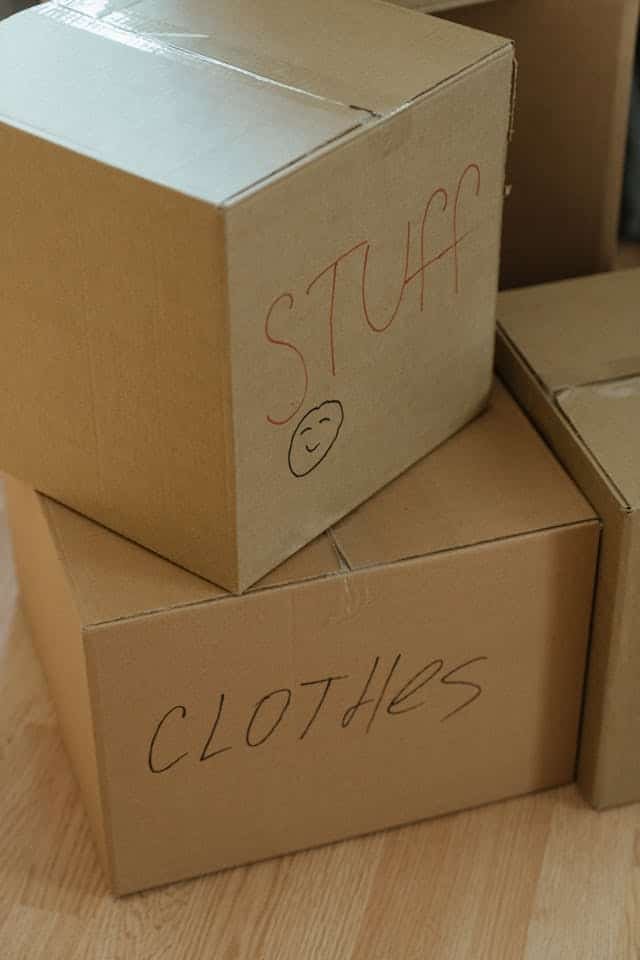
This includes four to five cardboard boxes for sorting (keep, donate, toss, sell, and unsure), along with tape and a marker for labeling.
Also, arrange your storage containers ahead of time. Having baskets, bins, or shelves ready will make a big difference when it’s time to organize.
You wouldn’t want the toys, clothes, and other kid stuff scattered around the room right after decluttering.
Organizing on the go keeps everything under control and makes the whole process much quicker and less overwhelming.
Take Before Photos
Before you dive into decluttering, take a few quick photos of the room just as it is.
It might feel a little messy now, but these pictures are such a fun way to see how much progress you’ve made once everything is done.
Plus, showing your child the before-and-after can make them feel proud of the hard work you did together.
Time to Work Now
Now that everything is ready, it’s time to roll up our sleeves and get started. This is the phase where we actually put in the work.
Just a little heads-up!
When kids are involved, decluttering isn’t always smooth.
Expect a lot of tears, some serious negotiating, and lots of pleading to keep things they haven’t touched in months (and probably won’t even remember five minutes later!).
But as a mom, you’ll be able to tell the difference between something that truly matters to their little heart and something that’s just a spur-of-the-moment tantrum.
Do a quick surface clean
Before you start sorting and making decisions, it’s helpful to quickly pick up anything obvious; trash, dirty laundry, empty snack wrappers, etc.
This clears the space a little and makes it easier (and less overwhelming) to focus on the real decluttering.
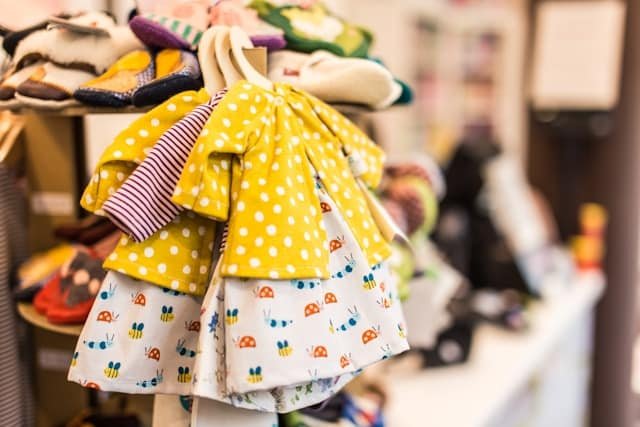
Sort Items into Categories
You can start the decluttering process corner by corner; maybe pick one shelf, a drawer, or a small area of the room first.
But honestly, it’s usually better to sort things by category. That way, you can really see what you have and make quicker decisions.
I recommend starting with clothing — it’s often the easiest place to begin.
Gather all of your child’s clothes from the closet, drawers, and anywhere else, and go through them one by one.
Ask yourself:
- Does my child actually wear this?
- Will it still fit when the right season comes?
- Is it in good condition (no stains, holes, or heavy wear)?
- Is this something my child feels comfortable in?
- Is it a complete item (like matching socks, all buttons attached)?
- Do we have duplicates that we don’t really need?
- Is it something they’ve outgrown in style or preference?
Anything that doesn’t check out can be donated, passed down, or tossed.
Once you’re done with clothing, move on to the next groups, one at a time.
Toys
Gather all the toys into one spot. It’s a good idea to put similar toys together; like stuffed animals, building blocks, dolls, cars, puzzles, etc.
Ask:
- Is this toy still played with?
- Is it complete (all pieces there)?
- Is it broken or missing parts?
- Has my child outgrown it?
Books
Bring all the books into a pile.
- Are these books still age-appropriate?
- Are they favorites we read often?
- Are any damaged or falling apart?
Art Supplies
Art supplies can get messy fast! Check:
- Are the markers still working?
- Are there dried-up paints or broken crayons?
- Are there craft supplies my child has lost interest in?
Miscellaneous
Finally, go through everything else; like board games, dress-up clothes, backpacks, collections, random knick-knacks.
Use the same method: group, ask questions, and decide what to keep or let go.
Important:
One thing to always keep in mind: if there’s something your child hugs tightly or feels really emotional about; even if it’s worn out, broken, or doesn’t seem “useful”, let them keep it.
Children don’t always see things the way we do. Their attachment to certain items is real and meaningful to them.
You can always revisit these things during your next round of decluttering. For now, honoring their feelings builds trust and helps them feel safe during the process.
Secure the Boxes
Once you’ve sorted everything, it’s time to label the boxes. Grab some tape, secure the boxes, and use a marker to clearly write what’s inside; whether it’s “Keep,” “Donate,” or “Toss.”
Organize Now
As I mentioned earlier, it’s best to organize things as you go.
Now that you’ve sorted through everything, it’s time to start putting things in their proper places. This is a great opportunity to involve your child in the organizing process.
It helps them feel more invested in keeping the room tidy, and it’s a fun way to teach them about organization!
Keep Everything Within Easy Reach
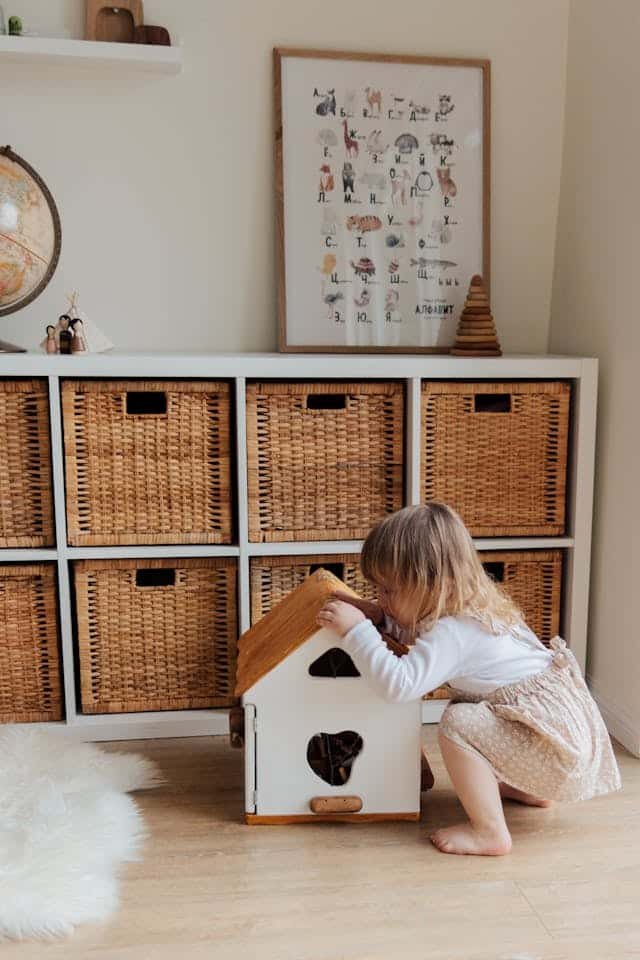
When organizing, I’ve found it’s best to keep everything within your child’s reach.
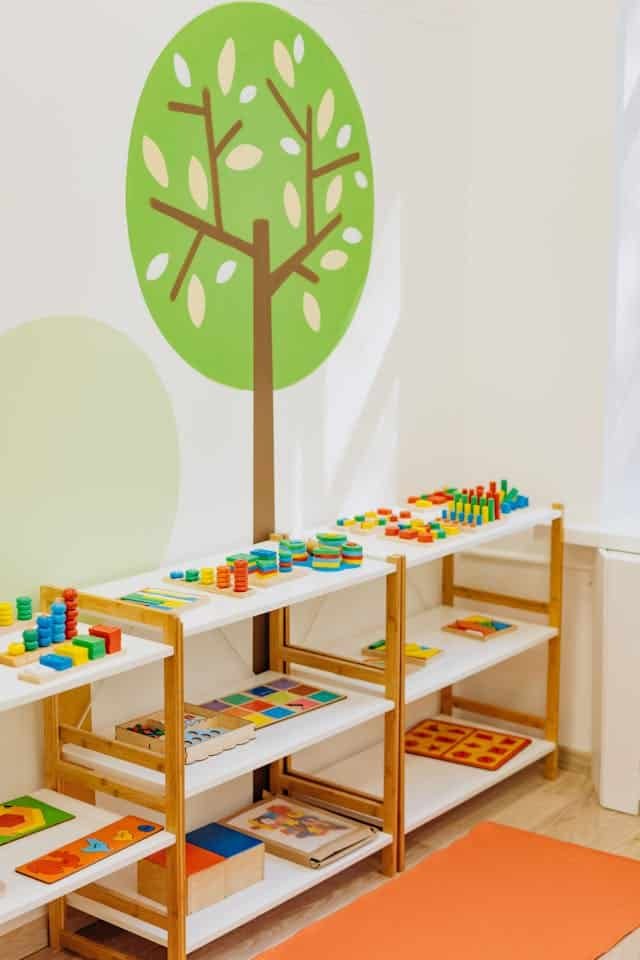
Store toys, books, and clothes in storage boxes or shelves, but make sure they’re not too high up on shelves.
Even the bigger toys should stay at ground level so your child can easily access them. If it’s tucked away out of sight, it’ll just go unused.
The goal is to make sure they can enjoy their things whenever they want, without needing to ask for help.
Label the Boxes
Once everything is organized, it’s time to label the boxes. Using labels that combine both visuals and text works best, especially for young kids.
This way, they can easily identify where each item belongs.
You can find ready-made labels on Etsy or, if you’re feeling creative, you can make your own using the free software “Canva.”
Dust and Vacuum the Room
Dust the surfaces, wipe down shelves, and vacuum the floor to get rid of any dust or debris.
This will make the room feel fresh and inviting, and give you a clean slate to maintain the organization.
Plus, your child will enjoy spending time in a neat and tidy space!
Involve Your Child in Donating or Recycling
Involving your child in the process of donating or recycling can be a meaningful experience.
Take them to the donation center or recycling facility, so they can see firsthand where their things are going. It helps them understand the value of giving back and the importance of sustainability.
Whether it’s a favorite toy being donated or old clothes recycled, it’s a great way to teach your child about generosity and the impact they can have on others.
Helpful Tips
Before we wrap up, I wanted to share a few extra tips that can make the whole decluttering process even smoother.
Use Colorful Boxes to Make It Fun
To make decluttering more fun for young kids, try using colorful boxes for each category; one color for keep, another for donate, toss, sell, and unsure.
Instead of placing the items yourself, hand them over to your child and tell them which color it belongs to.
Kids love color games, and this simple trick turns decluttering into a playful activity rather than a boring task.
It also gives them a sense of control and keeps them more engaged throughout the process.
Look for Organized Clutter
Sometimes clutter isn’t just the stuff scattered all over the room; it’s hiding neatly inside boxes and bins too.
Take a moment to go through those organized spaces and see what’s actually being used and what’s just taking up space.
Give Them the Money from Sold Items
If you’re planning to sell some of the toys or other items, you can make the process more exciting for your child by letting them keep the money from the sale.
You could also take them to the store to pick out something they truly need.
It’s a great way to help them understand that we’re letting go of things we don’t use anymore so we can make space (and room in our budget) for things that matter more to us now.
If It Hasn’t Been Used in 6 to 8 Months, Let It Go
A simple rule that really helps is that if your little one hasn’t played with a toy for over six to eight months, it’s time to let it go.
Chances are, it’s no longer something they’re interested in; and it’s just taking up space. Trust your instincts and make room for the things they truly love!
Create Zones in the Room
One of the easiest ways to keep a kid’s room tidy is by setting up simple zones; a reading corner, a toy area, a spot for art supplies, and so on.
When everything has a home, it’s easier for your child to know where things go.
Make a Memory Box
As you’re decluttering, set aside a small box to create a memory box; something just for those extra special keepsakes.
You can save one meaningful item from each category: their first toy, a favorite baby outfit, their first drawing, or even a tiny book they loved.
Avoid Overcomplicating Storage Systems
It’s tempting to set up fancy storage with drawers, bins inside bins, and labels for every little thing, but trust me, simple works best.
When organizing a kid’s room, the goal is ease. If it takes too many steps to put a toy away, chances are it won’t happen.
Stick to open bins, low shelves, and easy-access containers so your child can help with cleanup without feeling overwhelmed.
Don’t Hold Onto Too Many “Just-in-Case” Items
It’s so easy to keep things, thinking, maybe we’ll need this later. But too many “just-in-case” items can quickly turn into clutter.
Be honest with yourself; if it hasn’t been used in months and doesn’t hold sentimental value, it’s probably safe to let it go.
Freeing up space makes room for what your child actually uses and enjoys right now.
Let’s Wrap It Up
Decluttering a child’s room doesn’t have to be overwhelming.
Start with a simple plan, gather your supplies, and involve your child every step of the way. Tackle one category at a time; clothes, toys, books and don’t forget to label and organize as you go.
Keep storage systems easy, use clear labels, and create zones to maintain order.
Most importantly, be patient and gentle. It’s a learning experience for your little one and a chance to create a calmer, more joyful space together.
